The short answer
If a penis pump gauge is not moving, do not add more suction to force a reading. First confirm what the indicator should do at startup, then check power, the release valve, tubing, connectors, the sensing port, the cylinder, and the body-side seal. A chamber can fail to create vacuum while the gauge is healthy, or it can create vacuum while a damaged or blocked gauge still reads zero. The safe goal is to identify which system failed before the next session.
A gauge looks like a simple part, but it sits at the end of a chain. The pump must move air or water, the release valve must close, every joint must seal, and the pressure path must reach the sensor. If any link fails, the needle or digital number may stay unchanged.
This is why pumping harder is a poor test. It increases exposure while giving you almost no diagnostic information. Work through a controlled sequence off the body whenever the manufacturer provides an approved function or leak test. If the manual does not provide one, contact the seller or maker rather than inventing a blocked-port test.
For a broader leak investigation, start with our penis pump vacuum troubleshooting guide. This page focuses specifically on a gauge, pressure readout, or digital display that stays at zero, jumps, freezes, or fails to return to rest.
If you are choosing a device rather than diagnosing one you already own, compare a penis pump with a gauge versus one without. Then use the complete pump kit checklist to verify the release, seals, vacuum source, instructions, and service parts before buying.
First identify the type of indicator
Some pumps use an analog dial connected to a small pressure channel. Others use a digital pressure sensor built into the motor head. A third group has only timed modes, indicator bars, or numbered programs rather than a true pressure measurement. Those interfaces should not be treated as interchangeable.
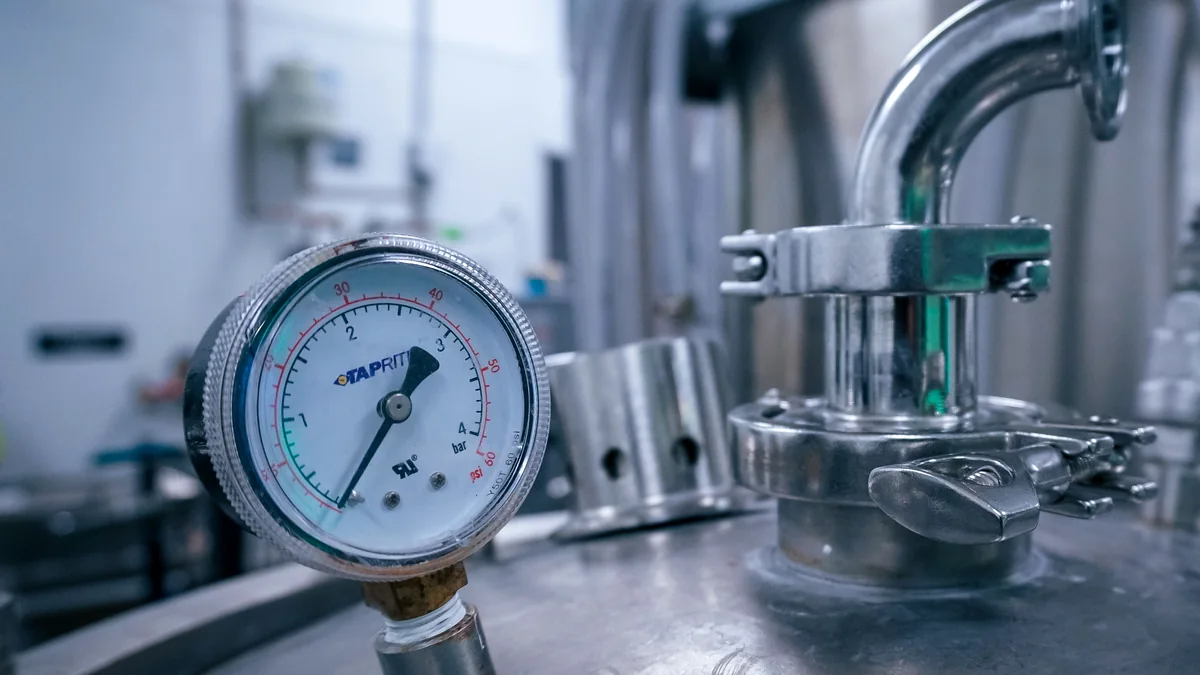
- Analog dial: look for a normal zero position, smooth needle movement, readable units, and a protected lens.
- Digital value: confirm the startup self-check, battery state, selected mode, unit display, and whether the number changes only after a seal forms.
- Level bars or programs: verify in the manual whether these represent measured pressure, motor output, or simply a selected operating mode.
- No indicator: do not retrofit an unapproved gauge into the tubing or release path. Added fittings can create leaks or obstruct release.
Write down the make, model, indicator type, displayed unit, and exact failure pattern before you contact support. A clear report such as "the display powers on and the motor runs, but the value remains at zero after the approved seal check" is more useful than "the pressure is broken."
What the failure pattern usually points to
| What you observe | Most useful first checks | Immediate response |
|---|---|---|
| Display is completely blank | Battery, charging cable, power control, moisture, damaged screen | Stop and restore normal power behavior before testing vacuum |
| Display works but stays at zero | Mode, release valve, hose, connector, sensor port, body seal | Release pressure and inspect the full pressure path |
| Needle moves only when the hose is bent | Loose connector, split tube, kink, intermittent sensor connection | Replace the approved damaged part; do not hold it in a strained position |
| Reading jumps or changes in steps | Air leak, unstable seal, moisture in the port, low power, sensor fault | End the test and dry or service the device as directed |
| Reading stays above zero after release | Incomplete release, blocked port, sticky mechanism, impact damage | Remove the device and stop using the gauge until it returns and tests normally |
A safe diagnostic sequence
1. Return the system to its normal rest state
Operate the release control exactly as the manual describes, remove the device, switch it off, and disconnect charging power. An analog needle should sit at the maker's stated rest mark. A digital display may show zero, a standby symbol, or turn off. If the reading remains elevated after full release, treat the measurement as unreliable.
Do not loosen a cylinder, hose, or threaded fitting while pressure is present. Do not use a pin, wire, or compressed air to clear a port. A small passage can connect directly to the gauge diaphragm or electronic sensor and may be damaged by probing.
2. Confirm power and startup behavior
For a powered pump, charge it with the specified cable and power source. Watch the complete startup sequence. A screen that lights does not prove that the motor or pressure sensor has enough stable power under load. Note dim segments, repeated resets, a battery symbol that changes abruptly, unusual heat, or a motor that pulses and stops.
If the device was dropped, submerged beyond its rating, stored in extreme heat, or charged with an incompatible supply, stop before further testing. Internal sensor or battery damage cannot be diagnosed by increasing vacuum.
3. Check the selected mode and units
Some digital pumps show the selected program before they show measured pressure. Others update only after the sensor detects a closed chamber. Confirm the display mode and units from the manual. Do not compare a number on one device with a target from another model, because scales, calibration, control logic, and intended use differ.
If the display has a zero or calibration routine, use only the documented procedure with the chamber fully released. A homemade calibration against another household gauge is not a reliable substitute for service equipment.
4. Inspect the release valve
An open or partly seated release valve prevents the system from building the pressure difference the gauge is meant to detect. Check for lint, dried lubricant, cross-threading, a folded gasket, or a control that no longer moves through its normal range. Clean only with the approved method.
The release function must remain easy to operate. U.S. regulation identifies external penile rigidity devices, including vacuum pumps and constriction rings, under 21 CFR 876.5020 as Class II devices subject to special controls. That category does not establish the status of any particular retail product, but it reinforces why a release path should never be taped, glued, clamped, or intentionally blocked.
5. Trace the hose, connector, and sensing path
Follow the path from the chamber to the pump or gauge. Reseat removable connectors, check that tubing is pushed to the documented position, and inspect flexible sections under bright light. A split often begins where a tube stretches over a barb. A flattened bend can also isolate a gauge from the chamber.
Look for moisture, lubricant, or debris near the sensor opening. Water-based systems can carry droplets into a port if they are overfilled, tilted, or assembled incorrectly. Dry and reassemble the device only as the instructions permit. Never heat the sensor with a hair dryer or add solvent to the pressure path.
6. Separate a seal failure from an indicator failure
If the system cannot form a complete base seal, the pump may move air continuously while the gauge stays near zero. Check the sleeve or gasket, hair channels, lubricant distribution, body angle, and cylinder opening. Our cylinder and seal sizing guide explains why chamber width and body-side opening are separate fit decisions.
Use the maker's approved off-body function test if one exists. Do not seal the cylinder with your hand, tape, a plug, or another body part unless the manufacturer explicitly instructs that test. Improvised blockage can pinch skin, overload a motor, or defeat the release control.
7. Decide whether the chamber changes pressure without a reading
A failed gauge can remain at zero while the chamber still changes pressure. Warning signs include clear chamber tension with no display response, a motor sound that changes under load while the number stays fixed, or a needle that moves only after the device is tapped. End the session rather than estimating pressure from tightness, color, or sensation.
Pressure feedback is there to improve control. Once that feedback is unreliable, the correct repair is an approved gauge, sensor, motor head, or complete device replacement. Do not keep using a device simply because it still produces suction.
8. Test one change at a time
After every permitted adjustment, return the system to rest and repeat only the documented check. Change one variable: charge the battery, reseat the valve, reseat one connector, dry the approved port, or replace one approved seal. A single-variable sequence tells you what restored normal behavior and whether the fix is repeatable.
Record three states
For useful support evidence, record the indicator at rest, during the manufacturer's approved function check, and immediately after release. Include the device mode and whether the motor, valve, and chamber behaved normally. Do not include intimate photographs or personal health information in a routine hardware support request.
What a stuck reading above zero means
A gauge that does not return to rest deserves more caution than one that never moves. The chamber may still contain pressure, the sensing path may be blocked, or the indicator may have suffered mechanical damage. Confirm complete release, remove the device, and set it aside. A resting offset also makes every later reading uncertain because you no longer know the true zero point.
Do not tap the lens, twist the gauge body, drill a vent, or open an electronic motor head. If the maker offers a replaceable module, use the exact part and service steps. Otherwise contact support with the model and failure pattern.
When to stop immediately
Stop the session and release pressure for these signs
- The release control is slow, jammed, or difficult to reach.
- The gauge remains elevated, jumps unpredictably, or displays an error.
- The cylinder, lens, valve mount, hose, or connector is cracked or loose.
- You notice pain, sharp pinching, numbness, marked coldness, blistering, or rapidly darkening color.
- The motor overheats, smells unusual, restarts, or continues running after the control is released.
Persistent erection difficulty, repeated bruising, bleeding, new curvature, or symptoms after a pump session belong with a qualified clinician or urologist. NIDDK describes a medical vacuum erection device as a tube, pump, and elastic ring system and notes that adjustment and practice may be needed. Medical assessment is the right path when the issue is tissue response rather than hardware behavior.
Replacement and buying checklist
A useful indicator should have a readable scale or clearly explained digital display, a documented rest state, an immediately accessible release control, and instructions that define normal startup and fault behavior. Spare seals, tubing, connectors, and responsive support make a device easier to maintain than a sealed unit with no approved service parts.
Also separate a gauge from a marketing display. A bright number is useful only if the manual states what it measures and how to verify normal function. Ask whether the indicator shows measured chamber pressure, motor level, or a timed program. Look for model-specific instructions rather than generic pressure targets copied from another product.
The TopMan Premium Vacuum Pump System is presented with its actual product components, current $199 price, and included course. Review the complete product page and operating material before choosing any vacuum system.
Frequently asked questions
Why does my penis pump gauge stay at zero?
A gauge can stay at zero because the pump is not creating vacuum, the release valve is open, the hose or connector is leaking, the body seal is incomplete, the sensing path is blocked, or the gauge or digital sensor has failed. Release pressure and check one part at a time.
Can a penis pump create suction even if the gauge does not move?
Yes. A disconnected, blocked, damaged, or failed gauge can show zero while the chamber changes pressure. Stop the session rather than estimating pressure by feel, and follow the manufacturer test or replace the approved gauge assembly.
Why is the gauge needle stuck above zero after I release the pump?
A needle or digital reading that does not return to its normal rest value may indicate trapped pressure, a blocked sensing path, condensation, impact damage, or a failed gauge. Confirm full release, remove the device, and stop using it until the fault is resolved.
Should I tap a stuck penis pump gauge?
Do not strike, drill, open, or recalibrate a gauge unless the manufacturer provides that exact service procedure. Tapping may briefly move a damaged mechanism without restoring accuracy. Replace the approved component or contact support.
When should I replace the pump instead of troubleshooting it?
Replace or professionally service the approved assembly when the gauge stays offset, the display is erratic, the release control is unreliable, the cylinder is cracked, the hose or connector cannot be secured, or the device fails its manufacturer leak and function checks.
Build a controlled pump setup
Compare the complete pump system, fit information, included training course, and current offer before you buy.